Welcome to another installment of WordPress Wednesday!
Disclaimer: The information contained in this post is accurate for LSCWP v1.6.6 [release log]. If you are using a newer version of the plugin, some details may have changed. Please refer to our wiki for the latest!
Throughout the last several months, you may have gotten whiplash watching us release new feature after new feature in our LSCache plugin for WordPress! It’s been a whirlwind, we know. We’re at a point now where most of the big stuff been implemented, so I thought it might be a good time to give you a quick guided tour.
First, I’ll share links to the blog posts we’ve written about the major new features, so you can read up on them in depth, and then I’ll show you some of the smaller things that didn’t get their own posts but are worth a mention just the same.
Big Feature Roundup
Check out the linked blog posts to learn all about the following new cache functionality and optimization features:
- Private Cache
- Edge Side Includes (ESI)
- Vary Groups
- Database Optimization
- Minification, Combination, and HTTP/2 Push
- Content Delivery Networks (CDNs)
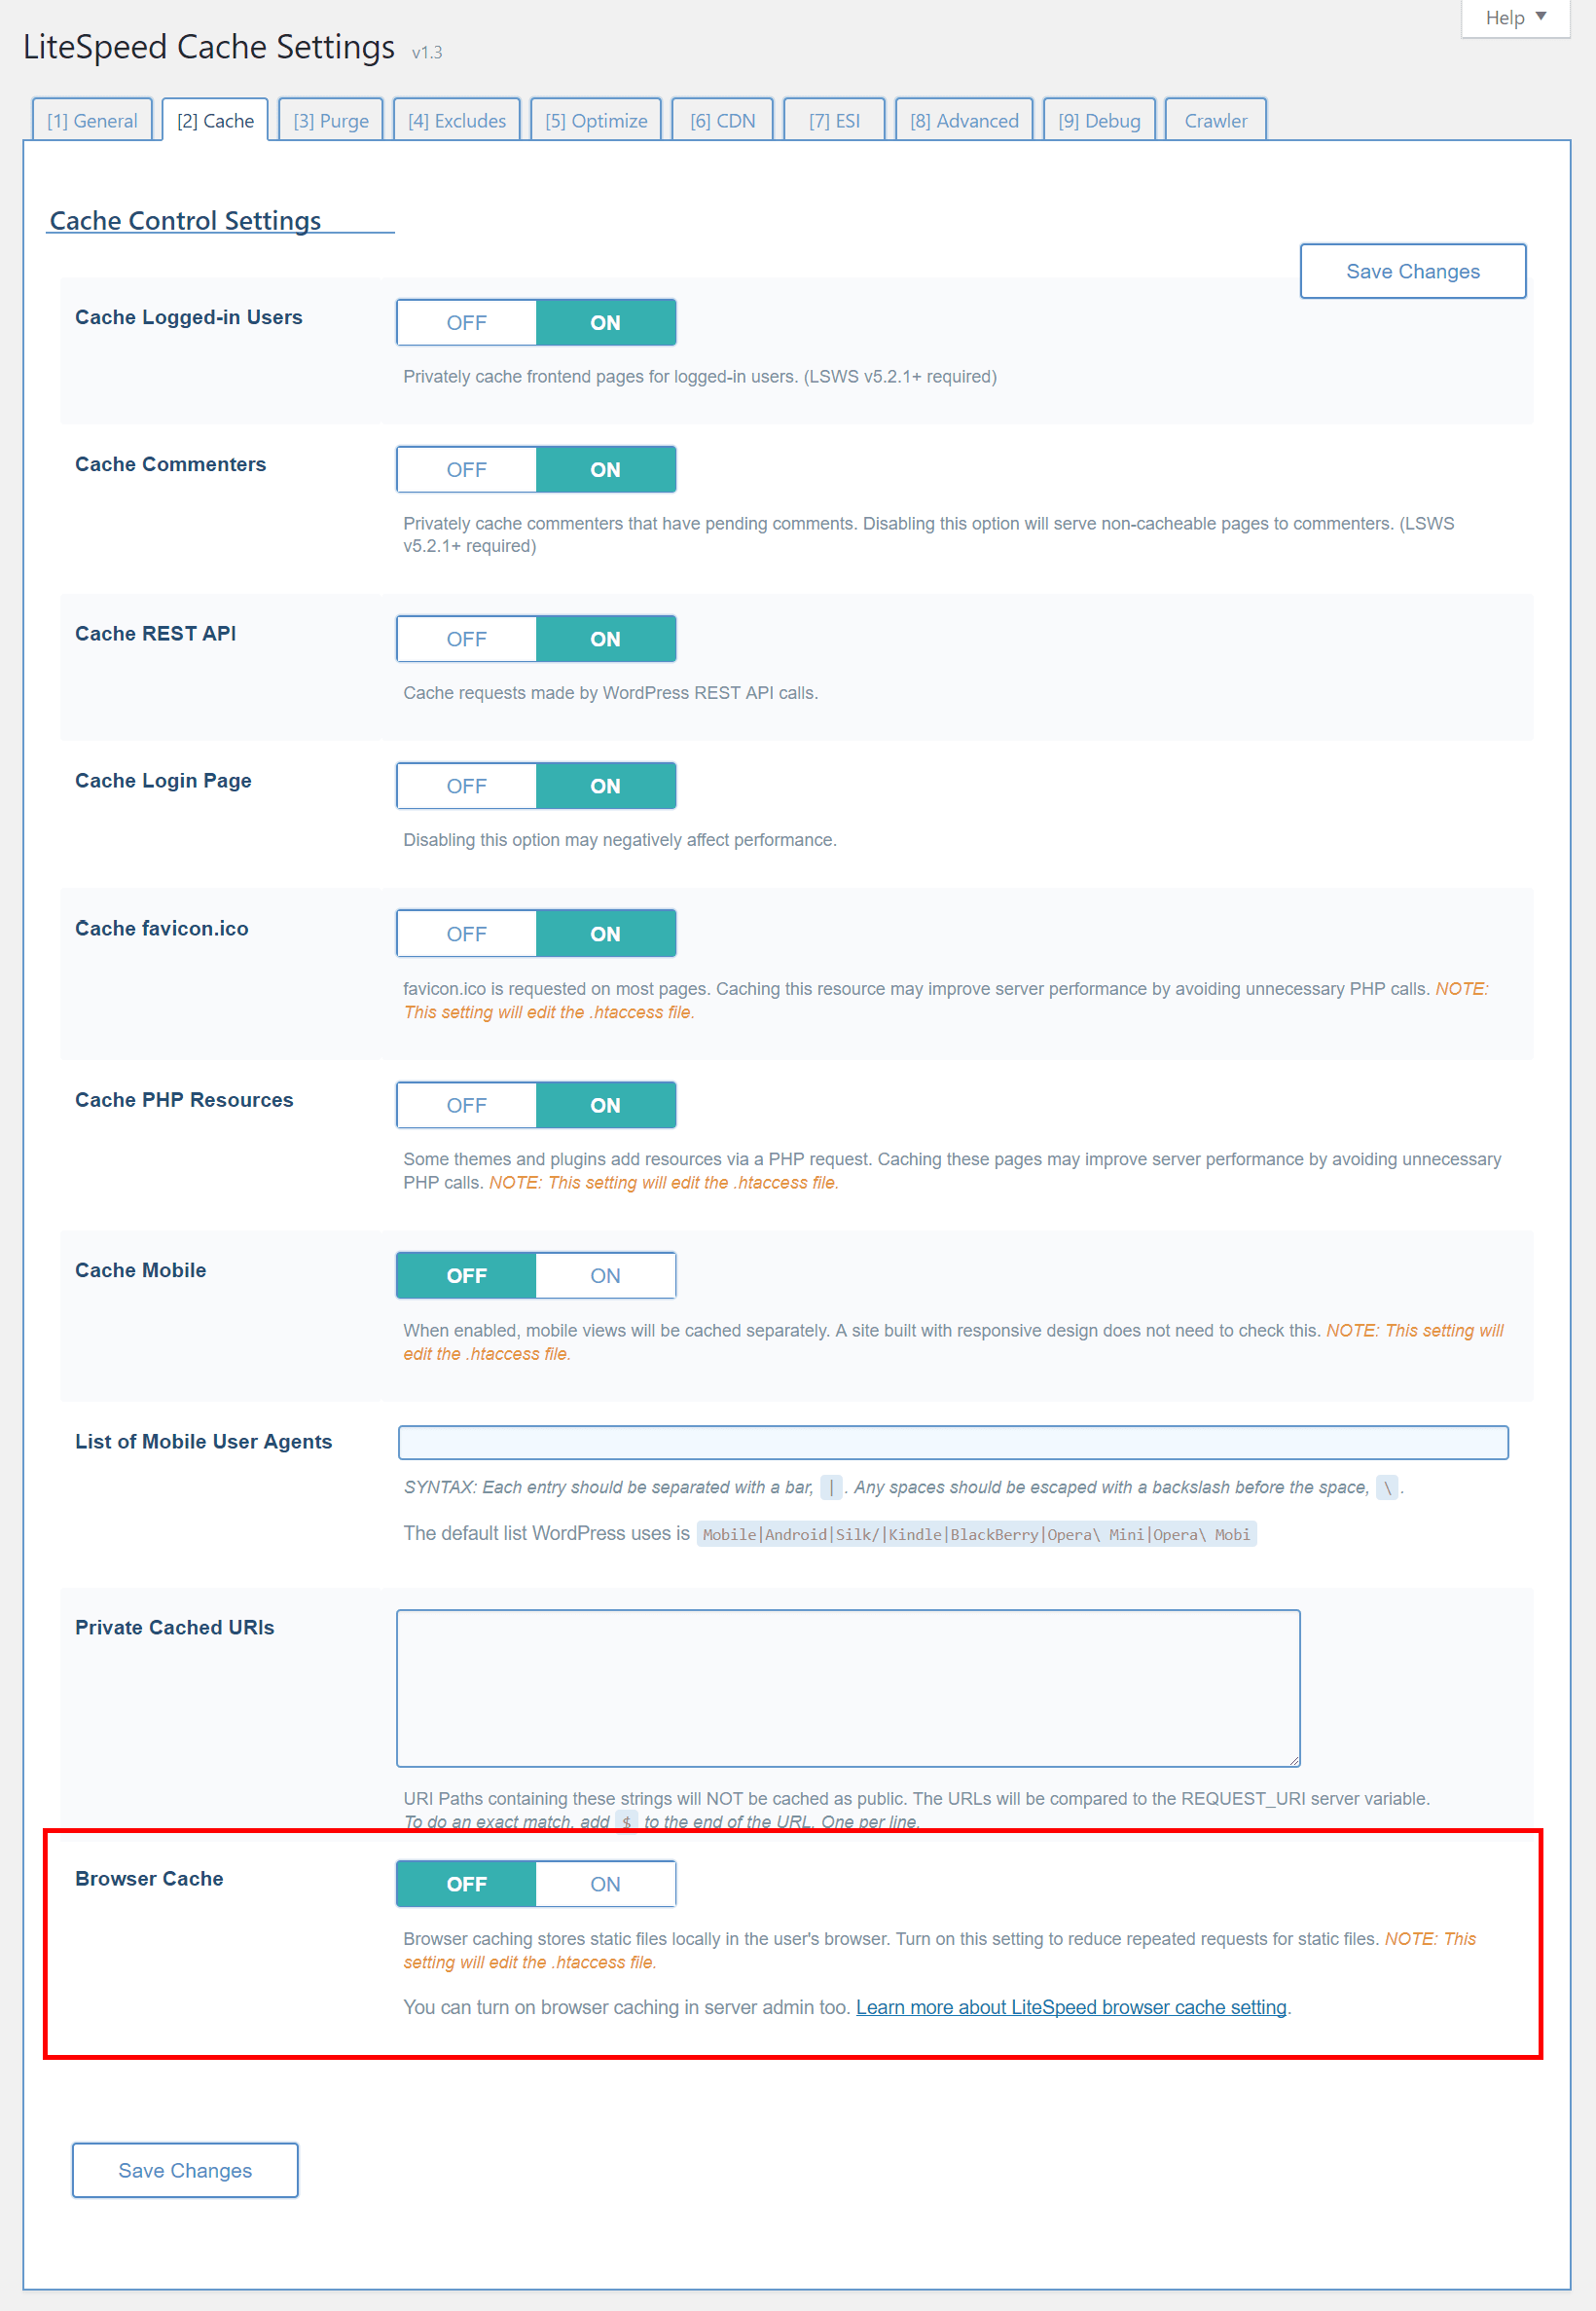
- Browser Cache
- Lazy Load
- Image Optimization
Other Features You Might Like
There are a handful of other new features that didn’t get their own blog posts. We’ve got an interface enhancement, a private cache feature, a new type of URL to exclude, and a collection of new optimization options.
Tab Switch Shortcut
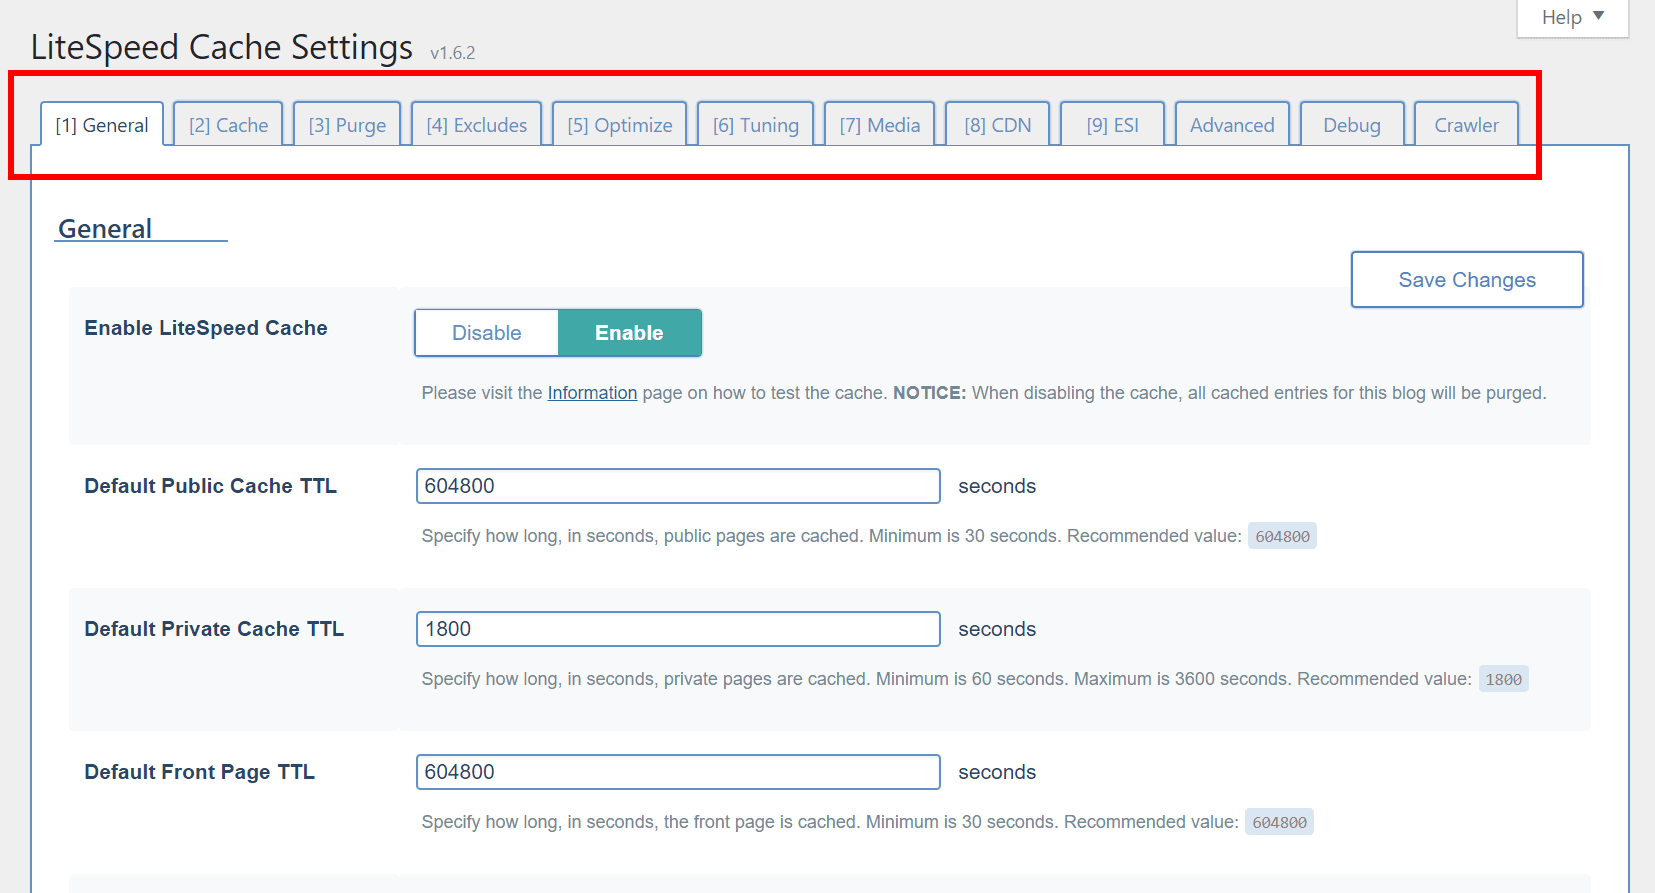
We’ve got a lot of tabs in our settings at this point, so you might appreciate the ability to easily switch between tabs, if you’re more of a keyboard-user than a mouse-user.
As long as your cursor is not focused on an input element, you can type a number, and be brought directly to the corresponding tab. For example, if you’re looking at the General tab, but want to change something in the ESI tab, simply press 9 and you will be brought to the ESI tab.
Private Cached URIs
From the WordPress dashboard, navigate to LiteSpeed Cache > Settings > Cache and scroll to the bottom of the page.
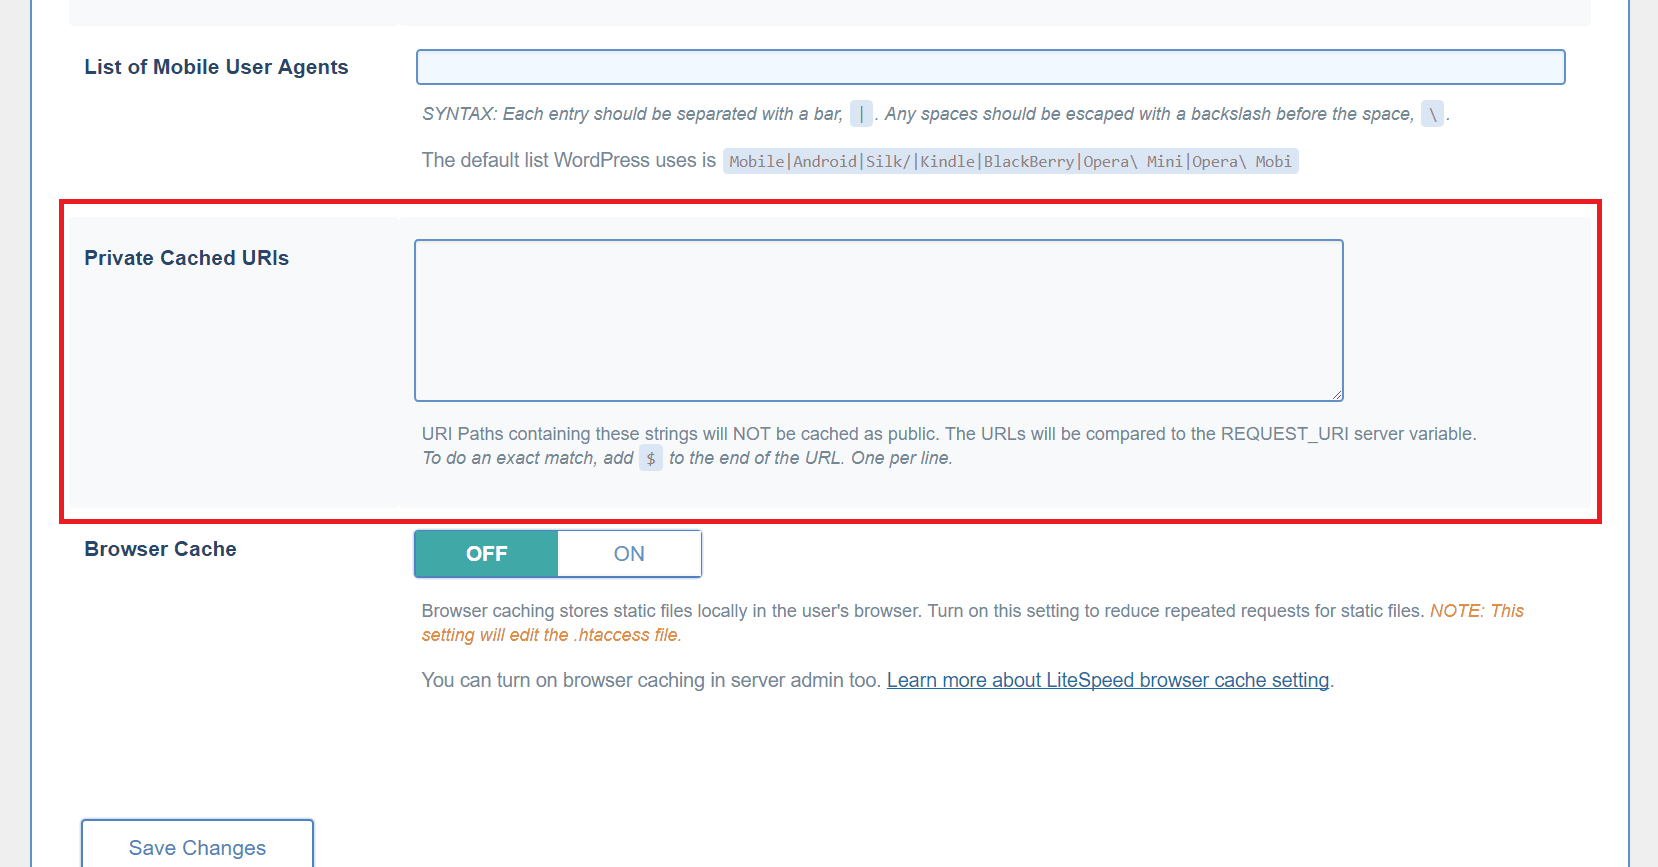
You may have pages on your site that would default to public cache under normal circumstances, but which you think should be cached privately (i.e. a separate copy cached for each individual user).
Use this box to list such URI’s, one per line. You can list an entire path and place a $ after it so that it is interpreted as an exact URI. Otherwise, any URI that includes the path you enter will be privately cached.
For example:
reviews/canon/$ will only match reviews/canon/.
reviews/canon/ will match reviews/canon/ and reviews/canon/eos80d/.
Additional Excludes
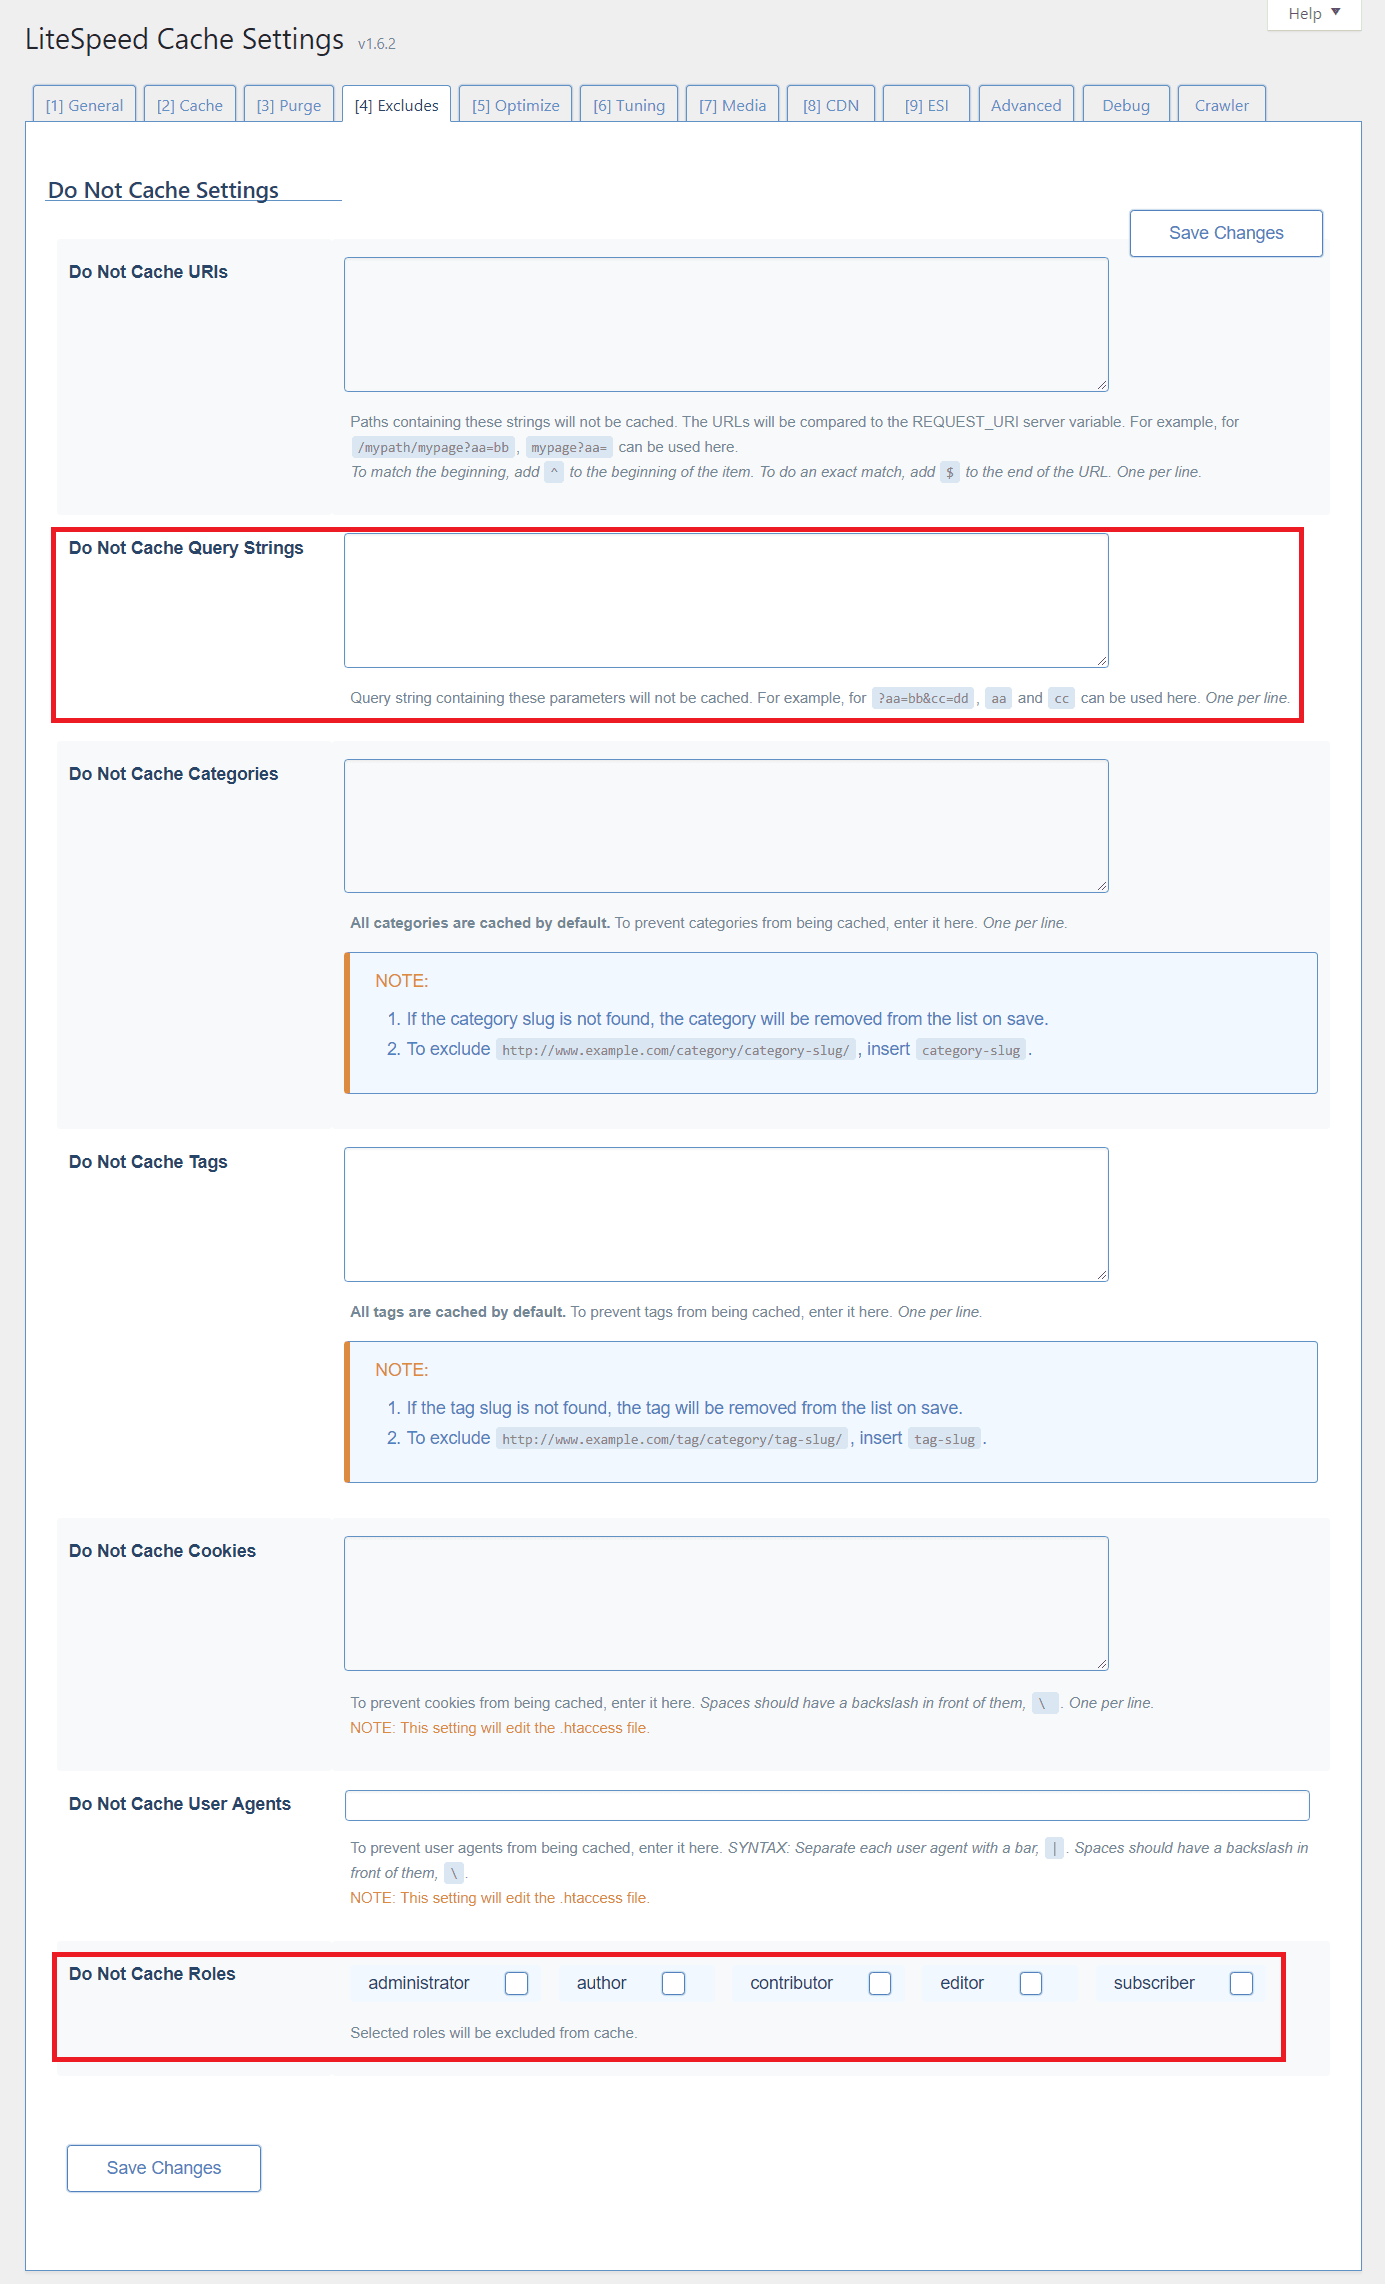
From the WordPress dashboard, navigate to LiteSpeed Cache > Settings > Excludes.
Query Strings
You can eliminate URLs with certain query strings from being cached.
For example, let’s say you have a mechanism that allows you to colorize your site in a purple color scheme like so: http://example.com/page?color=purple.
if you don’t want to cache any page that is rendered in a colorized way, you could enter color in that list. That would match http://example.com/page?color=purple as well as http://example.com/page?color=red, or any other specified color, and those pages would be excluded from caching.
From the WordPress dashboard, navigate to LiteSpeed Cache > Settings > Excludes and scroll to the bottom of the page.
Roles
There may be user roles that you wish to exclude from caching. For example, if you are an admin testing new functionality, you may want to exclude your administrator role from being served from cache until your testing is through.
Load JQuery Remotely
From the WordPress dashboard, navigate to LiteSpeed Cache > Settings > CDN and scroll to the bottom of the page.
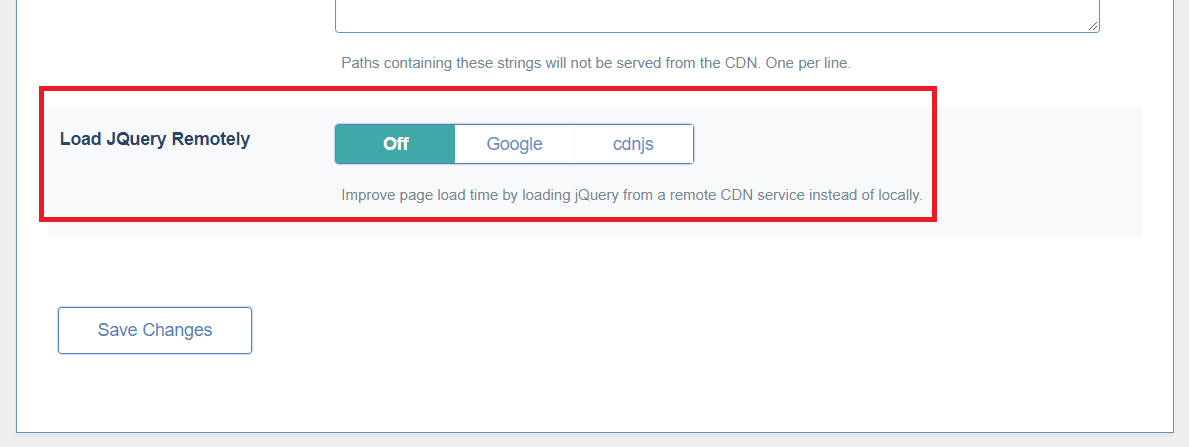
It can be faster to load JQuery from a remote CDN service. You may choose one here.
Optimization and Tuning
When we first released the Optimize tab, we wrote up a full blog post on all of the options. After that we added some new settings to the page. And then we added some more. And then, because that page was getting a bit unruly, we split Optimize into Optimize and Tuning.
So, if the last time you saw Optimize was while reading that blog post, you’ll need to know that two of those settings we discussed (CSS Excludes and JS Excludes) now live on the Tuning page. The other functions remain on Optimize, along with several new ones.
We recommend checking out both of those pages in our wiki’s Settings section, where every plugin setting is described in detail.
Image Optimization
Our image optimization feature is our newest one, and we’re still making adjustments here and there, based on what’s working well, what could use improvement, and the feedback we’ve received. Take a look at the Image Optimization page on our wiki to see how the most up-to-date features work.
Thus ends our tour of the new features. Keep an eye on WordPress Wednesday in the future for more detailed exploration of various aspects of our plugin!
For the most up-to-date configuration reference, you’ll want to keep the URL for our wiki handy. We make an effort to publish updates to the wiki as soon as anything changes in the plugin. While it might take us a few weeks to write an in-depth blog post, the wiki gets updated immediately.
—
Have some of your own ideas for future WordPress Wednesday topics? Leave us a comment!
Don’t forget to meet us back here next week for the next installment. In the meantime, here are a few other things you can do:
- Subscribe to the WordPress Wednesday RSS feed
- Download LiteSpeed Cache for WordPress plugin
- Learn more about the plugin on our website