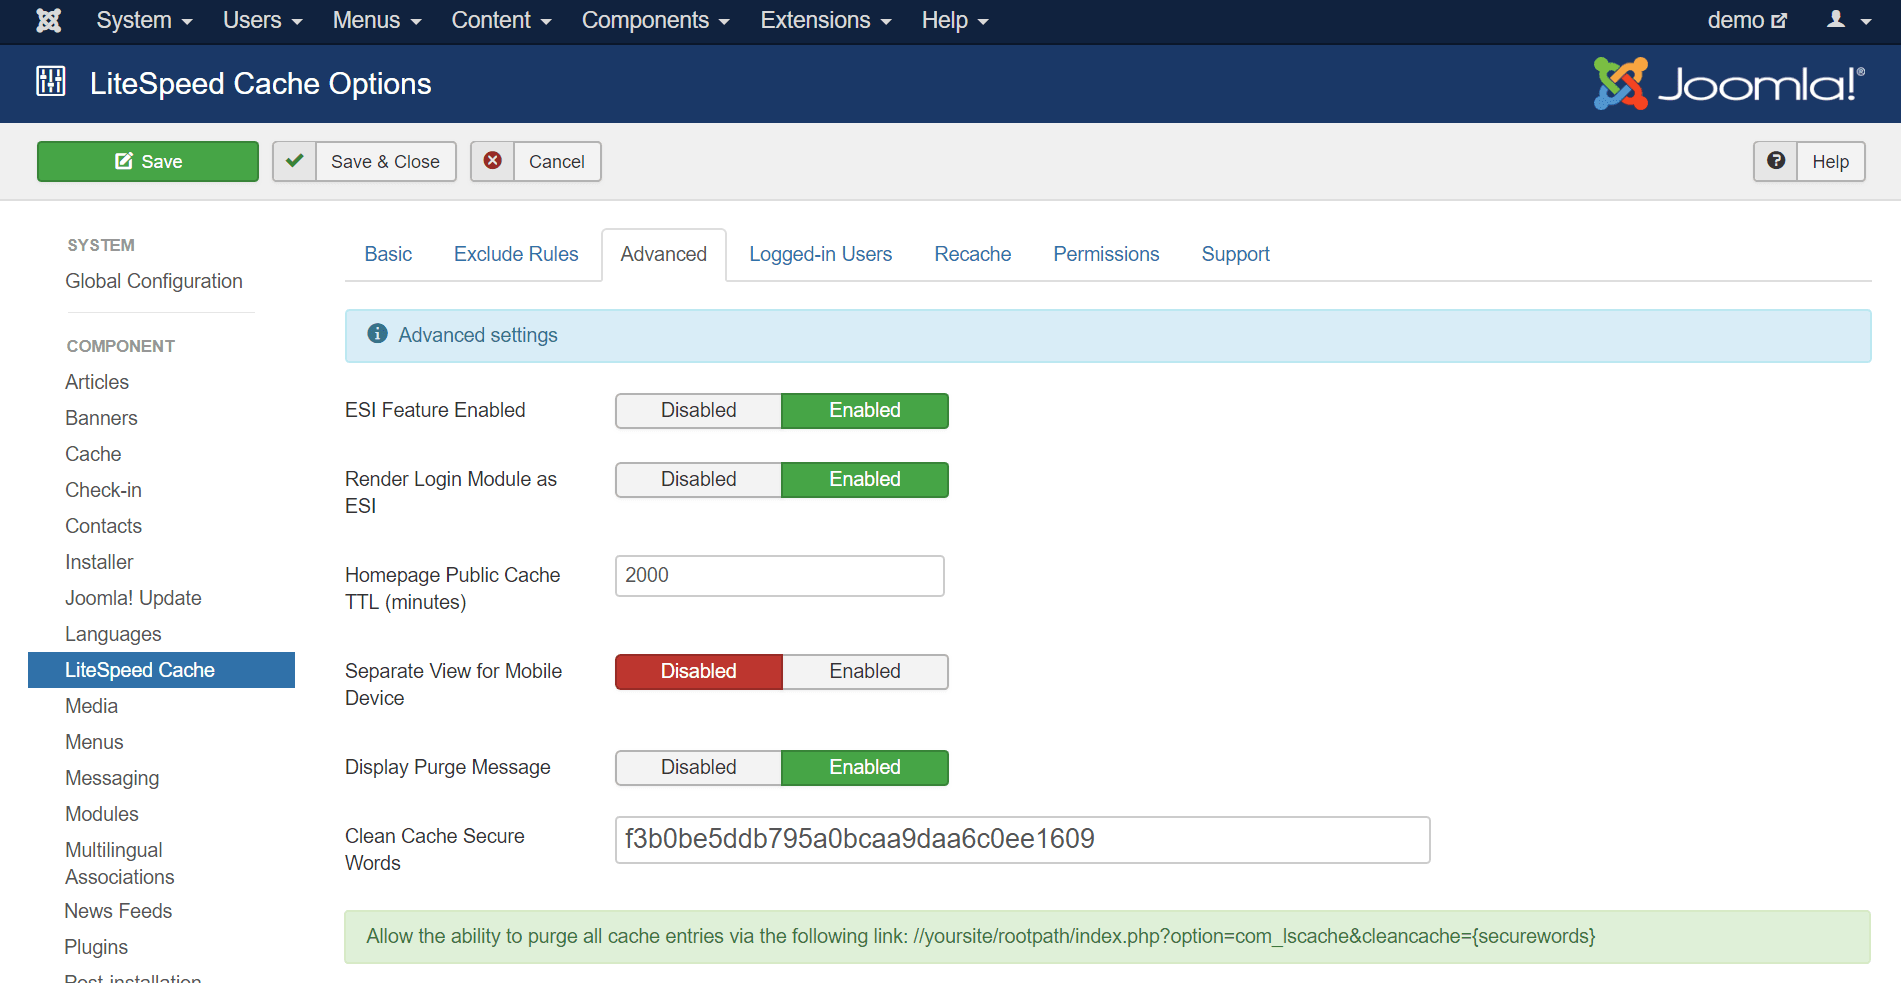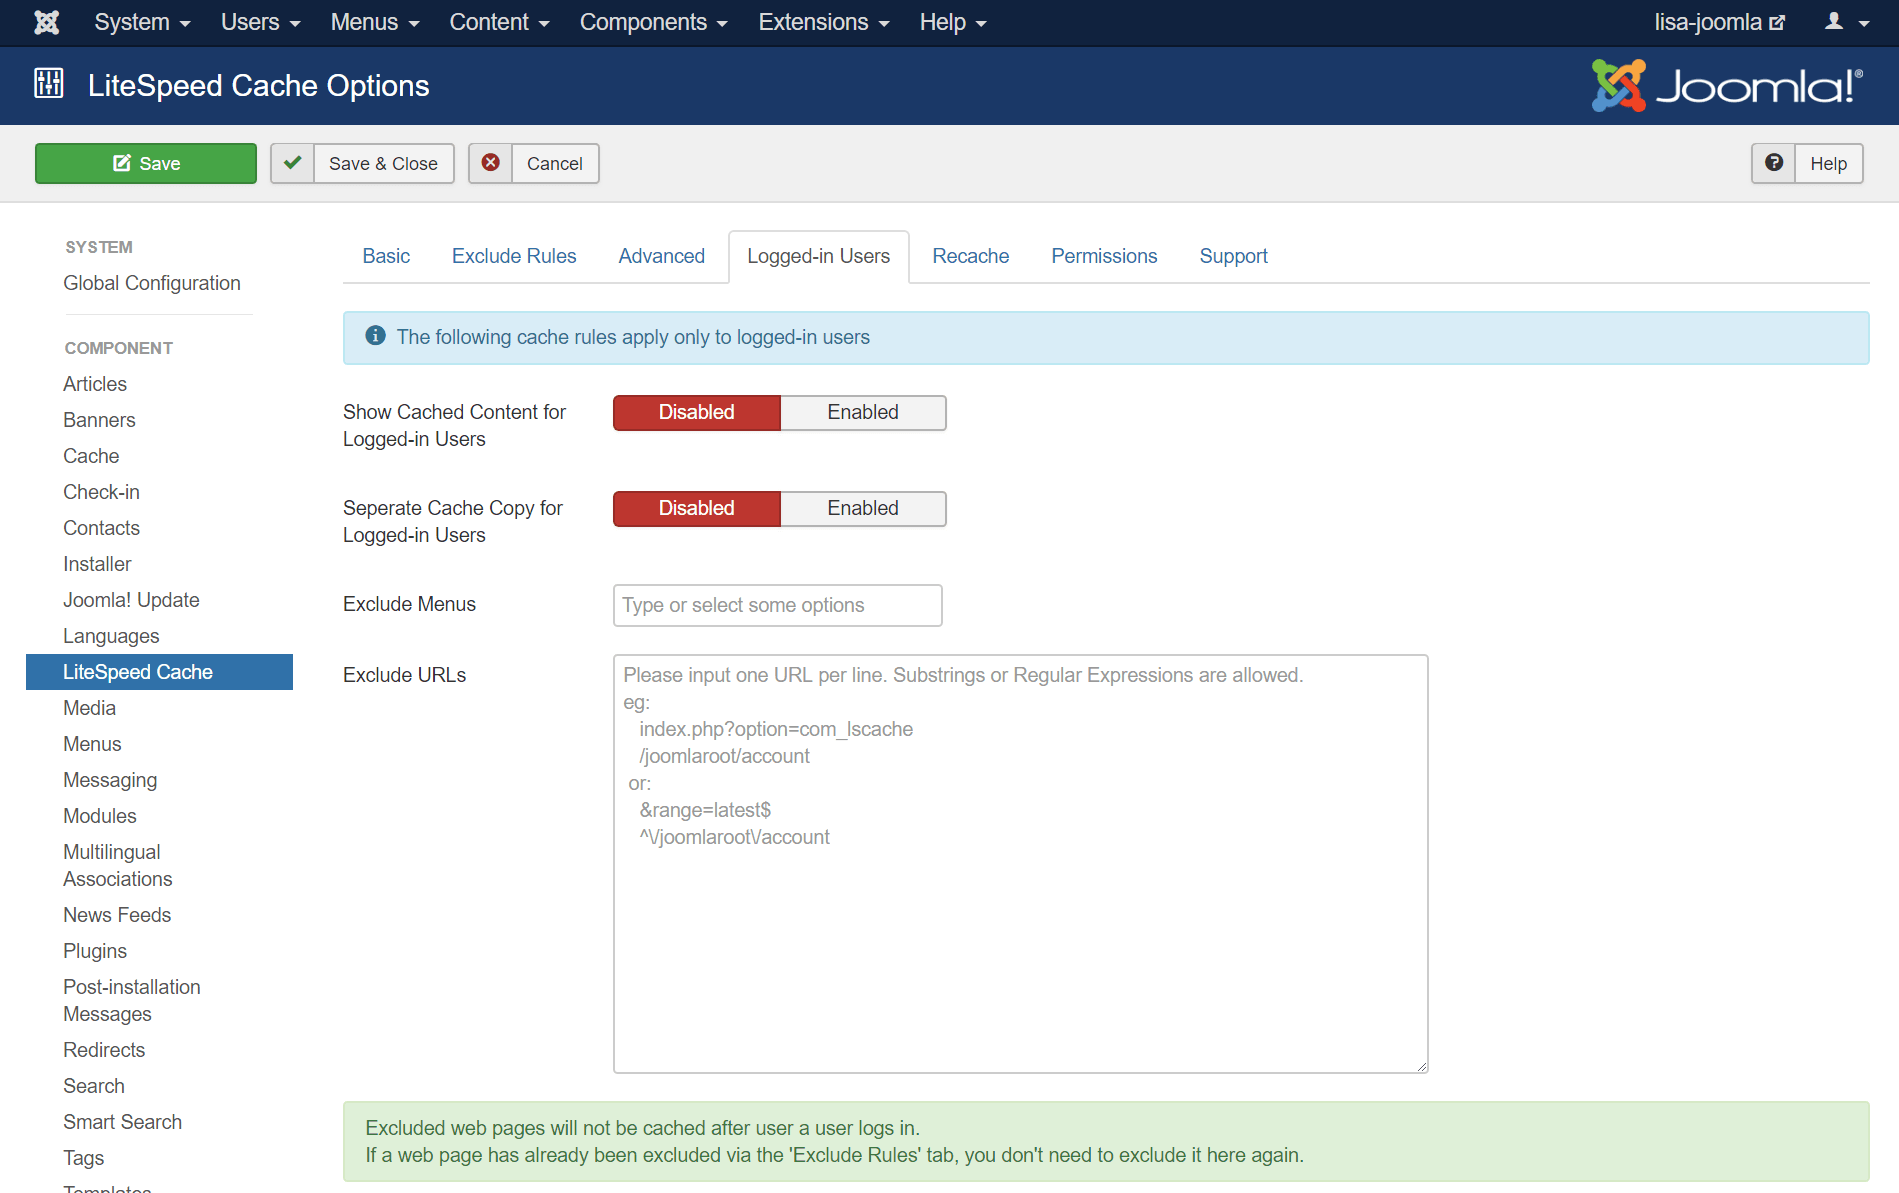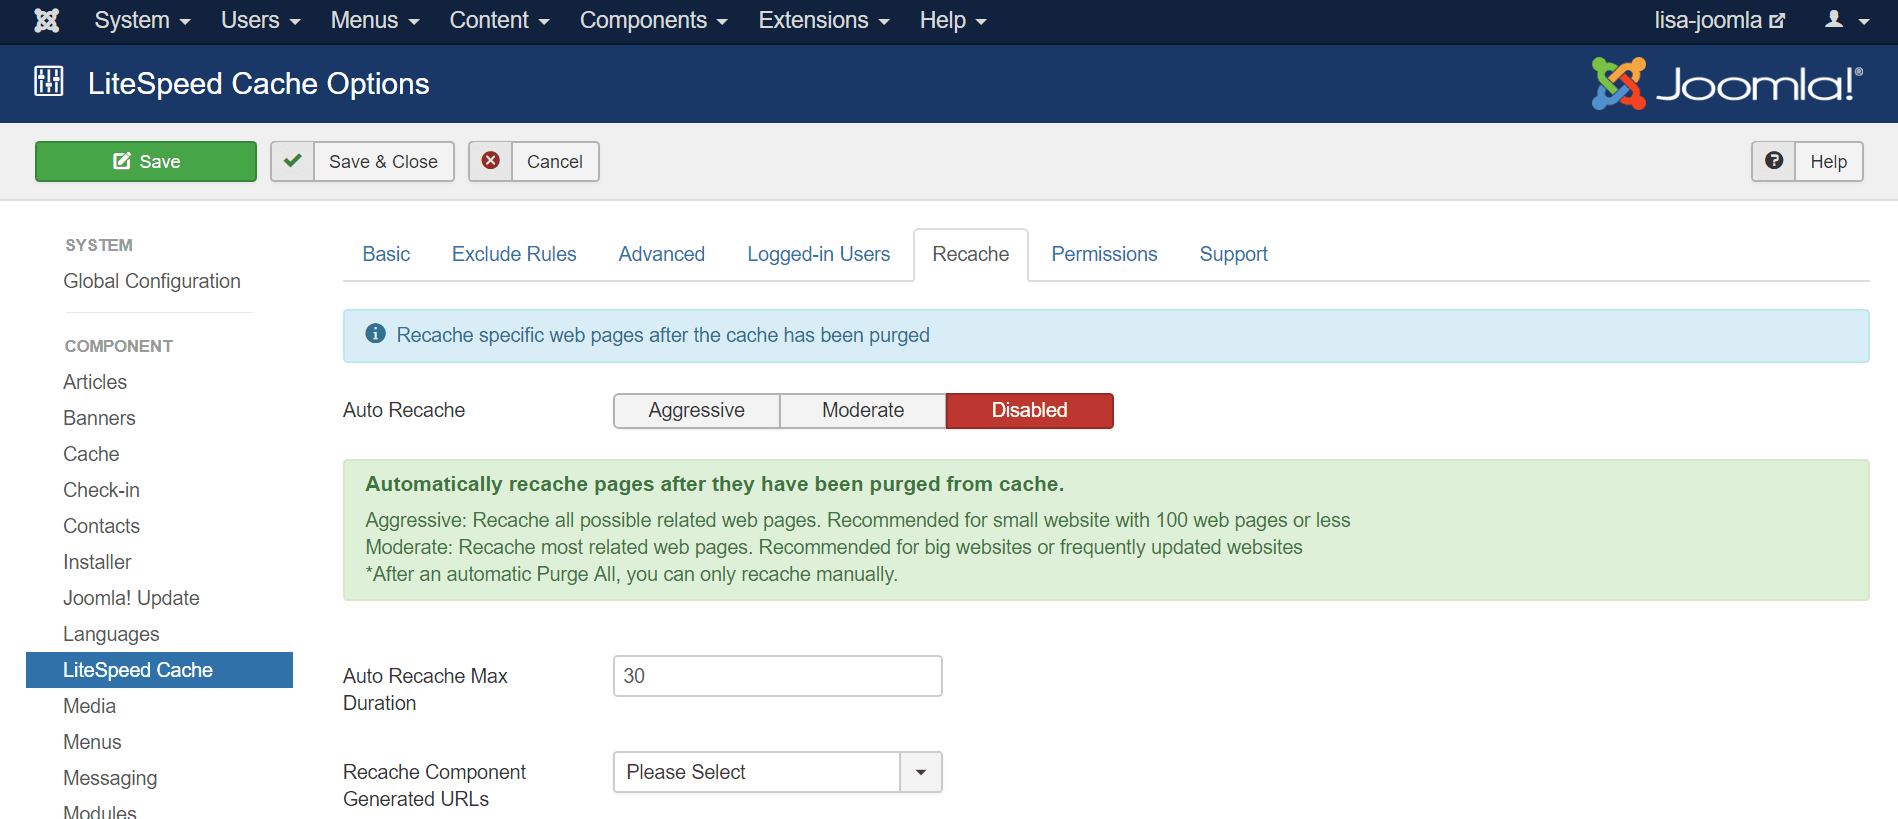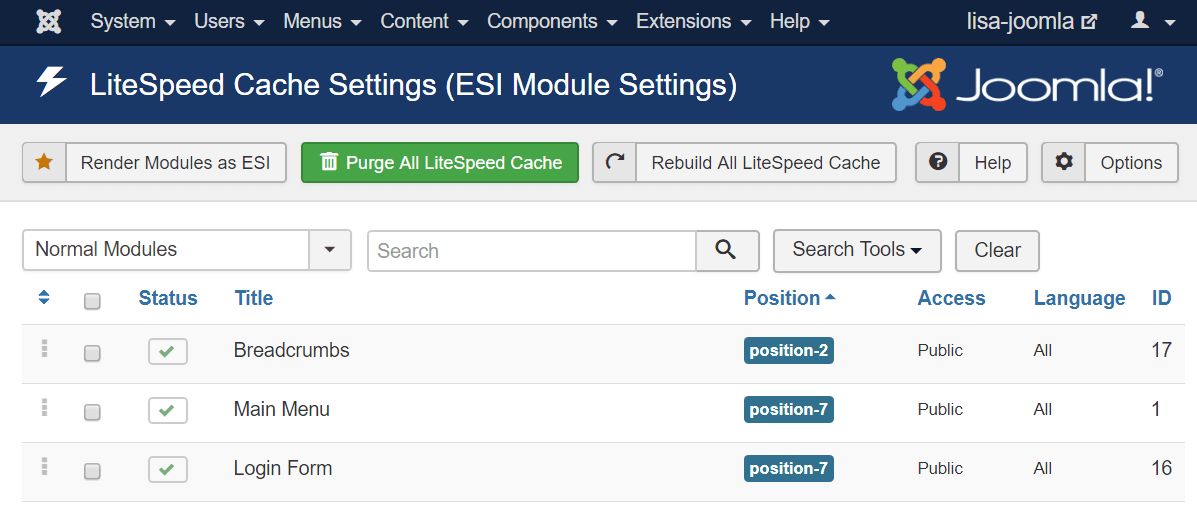
Welcome to another installment of WordPress Wednesday!
Today’s Topic: Beginner’s Guide to LiteSpeed Cache for WordPress
Disclaimer: The information contained in this post is accurate for LSCWP v5.5 [release log]. If you are using a newer version of the plugin, some details may have changed. Please refer to our documentation for the latest!
So you’ve downloaded the LiteSpeed Cache for WordPress plugin, installed it, and activated it. Now what?
Some people are invigorated by the site of all of those settings tabs and are eager to jump right in, while others find all of the options overwhelming, and are paralyzed with indecision.
Well, if you are part of the latter camp, you’ve come to the right place. Today we are going to talk about setting up LSCWP simply and easily. We’ll go over the things you must know in order to successfully use the plugin, and tell you which settings you can safely ignore.
I’ve installed and activated LSCache for WordPress. Now what?
LSCWP essentially has two purposes: that of a full-page cache for your site’s dynamically-generated pages, and that of a site-optimization plugin. Most people who install LSCache do so for the caching functions, and the rest is just the icing on the cake.
You are free to enable the caching functions and ignore everything else.
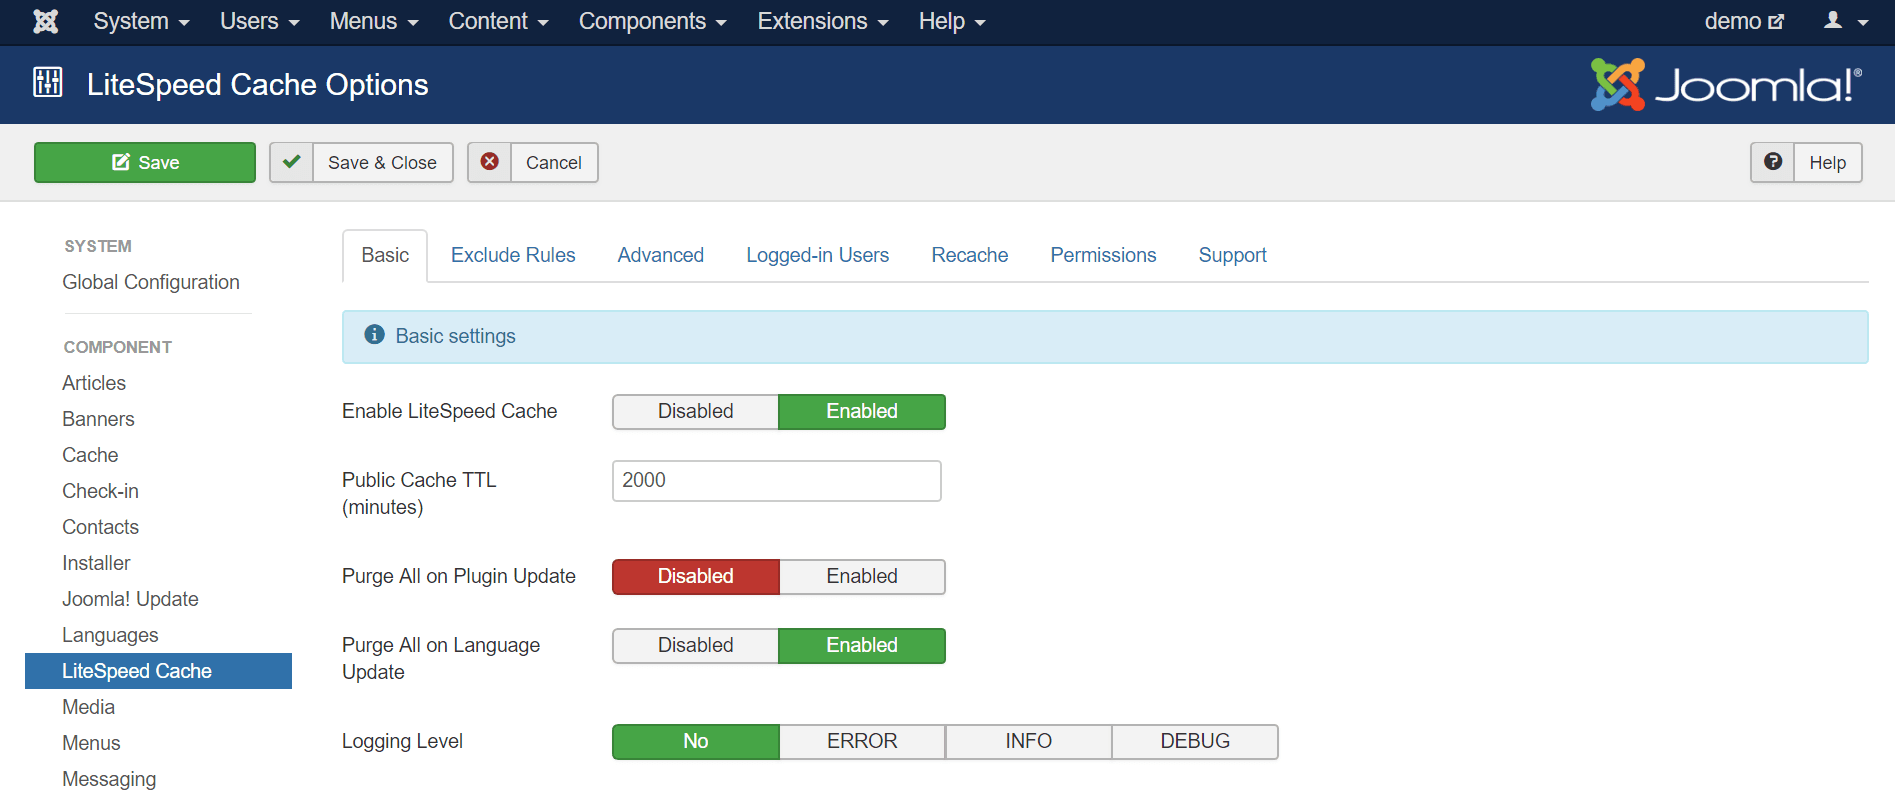
Upon activation, you’ll find that caching is enabled, but everything else is disabled. If you navigate to LiteSpeed Cache > Cache > Cache you will see that Enable Cache is set to ON.
You could stop right there, never configure another setting, and the plugin would probably cache your site very nicely. We specifically chose the default settings to work with the majority of sites right out of the box.
TL;DR: This is a very long post, but that’s only because I set out to explain every single basic setting for you. In the event that you want to tweak things a bit, it doesn’t hurt to have a rudimentary understanding of these things. There’s no need to read it now, though! Use the default settings, bookmark the version of this post that exists in the documentation (which we will keep updated through each plugin version), and check it when you need the reference.
Still reading? Ok! Let’s look at the first four tabs in the Cache section, and see what they do. These are the most basic settings for your cache.
Beginner’s Guide to LiteSpeed Cache for WordPress
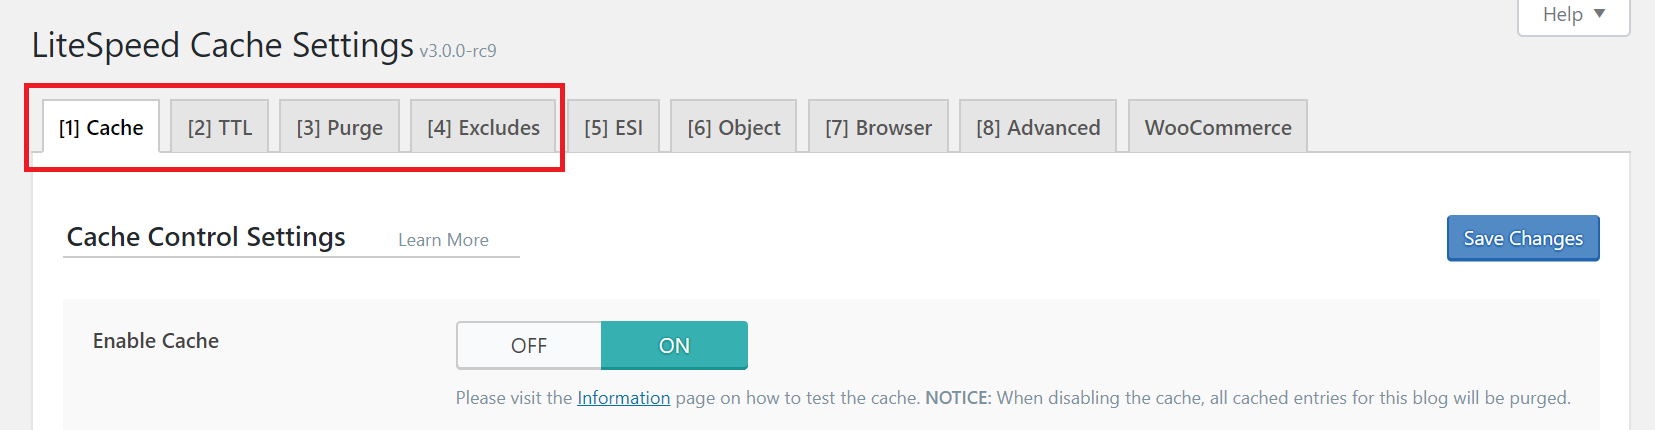
Tip: This is a high-level overview. For a detailed explanations of each setting on each tab of the Cache section, please see the Screen-by-Screen documentation.
Cache Tab
The first option on the Cache tab turns the caching functionality on and off. The remaining settings allow you to decide what types of content will be cached. By default, everything is enabled. If you don’t know what these settings do, it’s best to leave them set to their defaults.
TTL Tab
TTL stands for “Time to Live” and it refers to the number of seconds a page can remain in cache before it is considered stale. Once a page reaches its TTL, it is purged from cache. We’ve chosen default TTLs that should work for most sites, but you are free to change them.
If you would like a deeper understanding of how content is cached and purged, take a look at this blog post. It’s written at a high-level, so you can get the gist without knowing a lot of jargon.
Purge Tab
There are sometimes situations where pages should be purged before their natural expiration. This section allows you to define the rules for that behavior. The default selections should work for most sites, but you can change them if you need to.
Example
If you write a new post, tag it “brownies,” and publish it in the “recipes” category, several pages will change: the home page, the recipes category archive page, the brownies tag archive page, your author archive page, and probably some other pages, depending on your theme.
All of the affected pages will need to be purged in order to avoid serving stale content. These settings give you an opportunity to adjust the rules to fit what is needed by your site.
Excludes Tab
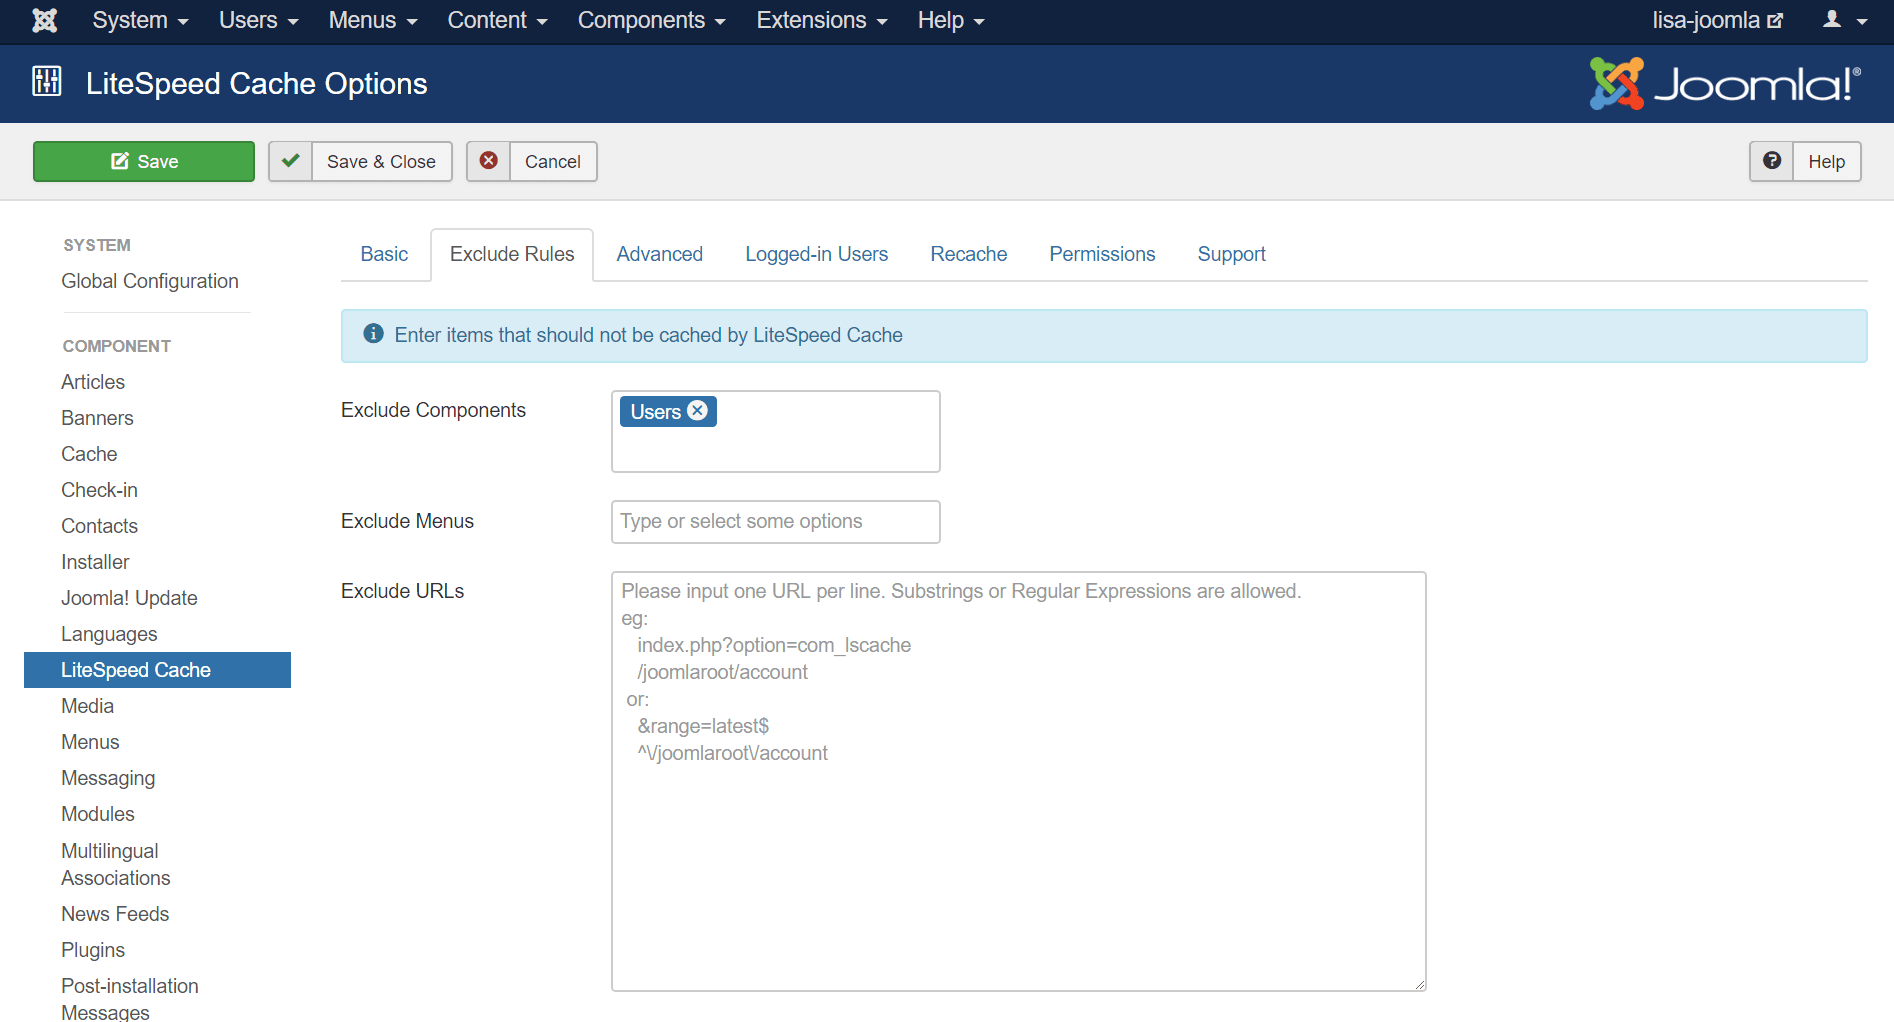
You may have pages that you don’t want cached at all. These options allow you to exclude specific parts of your site from being cached. Again, for most sites, there will be no need to change these settings. They are provided to allow you to make custom exceptions to the cache rules.
The Other Cache Tabs
The rest of the Cache tabs (four or five, depending on whether you have WooCommerce enabled) cover more advanced types of caching. We cover these in-depth in the Screen-by-Screen Cache section documentation.
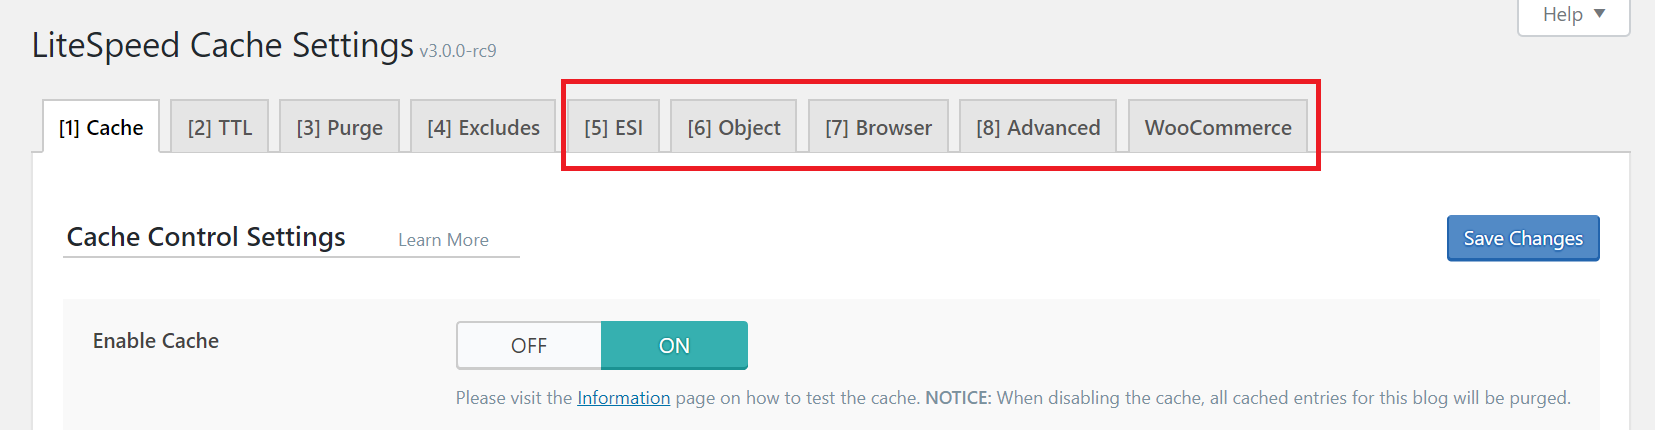
ESI
“Edge Side Includes” (ESI) is a method through which you can “punch holes” in public content, and fill them with private or uncached content. ESI is useful for things like shopping cart widgets and personalized greetings, but we’ve left it disabled by default. Go in-depth here.
Object
The settings on this tab allow you to control an external object cache (Memcached, LSMCD, or Redis). The server admin needs to have previously enabled and configured this external cache.
Browser
Browser cache is a client-level cache for static files. With browser caching enabled, static files (like images) are stored locally on the user’s device the first time they are requested. After that, the content is pulled from their local storage until the browser cache expires. The settings on this tab control the browser cache.
Advanced
As you might guess from the name of this tab, it’s aimed at more experienced users. You are not likely to need this tab, unless you have some kind of conflict with another cache plugin.
WooCommerce
LSCache is compatible with WooCommerce. If you have WooCommerce enabled, this tab will appear, and will allow you to configure settings related to caching shop content.
Other Plugin Sections
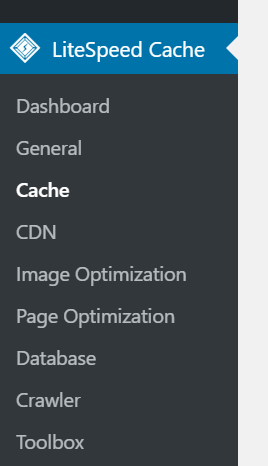
There are many more sections to explore in the LSCache plugin. Each of these is documented in much greater detail in the docs Screen-by-Screen section. I’ve provided links to each section in the descriptions below.
Dashboard
The LiteSpeed Cache Dashboard allows you to see the status of all of your LSCache and QUIC.cloud services (Image Optimization, Critical CSS Generation, Low-Quality Image Placeholders, Cache Crawler, etc.) at a glance. You can also check your page load time and your page speed score. Learn more.
General
The settings in this section control your usage of QUIC.cloud services, the ability to auto upgrade the plugin, and which messages you want to have displayed on the dashboard. Learn more.
CDN
This section allows you to configure your Content Delivery Network for use with WordPress. If you don’t use a CDN, don’t worry about it. We’ve left CDN support disabled by default. Learn more.
Image Optimization
LiteSpeed Cache for WordPress provides the ability to optimize your images, making them smaller, and faster to transmit. This is done through a QUIC.cloud service and can be controlled in this section of the plugin. Learn more.
Page Optimization
There are several non-cache measures you can take to speed up your WordPress site, and many of them are supported in this tab. CSS and Javascript minification and combination, HTTP/2 push, asynchronous and deferred load… if you don’t know what these things mean, don’t worry. We’ve left them disabled by default. Learn more.
Database
This section allows you to optimize your WordPress database. Database optimization is a useful tool when it comes to speeding up your site. LSCWP’s DB Optimizer gives you an easy way to execute some of these tasks in your WordPress database. Learn more.
Crawler
We’ve disabled the crawler by default. When it’s active, it travels your site, refreshing any pages that may have expired from the cache. Crawling can be a resource-intensive process, and not all hosting providers will allow its use. If your hosting provider does allow crawling, it’s a nice way to keep your cache fresh. Learn more.
Toolbox
When you need to manually purge the cache, export your site settings, or debug an issue, you’ll find the means in the Toolbox section. Probably the most useful thing you will find here is the Environment Report. If you are having a problem and LiteSpeed support asks for your Report Number, this is where you would go to get it. Learn more.
Watch the Video
What now?
Now, you sit back and watch your site load more quickly 😀
If you’re feeling adventurous, you can start looking at some of those other features we glossed over. Or, maybe you’d like to try a preset. They’re a great way to kick start your configuration, and they’re available for every comfort level.
We have documentation that provides explanations of every setting (specific sections are linked to above), and you can explore previous WordPress Wednesday topics for more in-depth discussions of some of them.
If anything we covered was not clear enough, or you feel the need for additional help, please don’t hesitate to leave a comment here or post on our WordPress support forum. We enthusiastically support this plugin and are happy to answer any of your questions!
—
Have some of your own ideas for future WordPress Wednesday topics? Leave us a comment!
Don’t forget to meet us back here next week for the next installment. In the meantime, here are a few other things you can do:
- Subscribe to the WordPress Wednesday RSS feed
- Download LiteSpeed Cache for WordPress plugin
- Learn more about the plugin on our website
—
This content was last verified and updated in June of 2023. If you find an inaccuracy, please let us know! In the meantime, see our documentation site for the most up-to-date information.